First, take a look at an example of this paint job to see if you like it (but also note: I’m sure many of you could do better as would I on the next try with the same techniques):
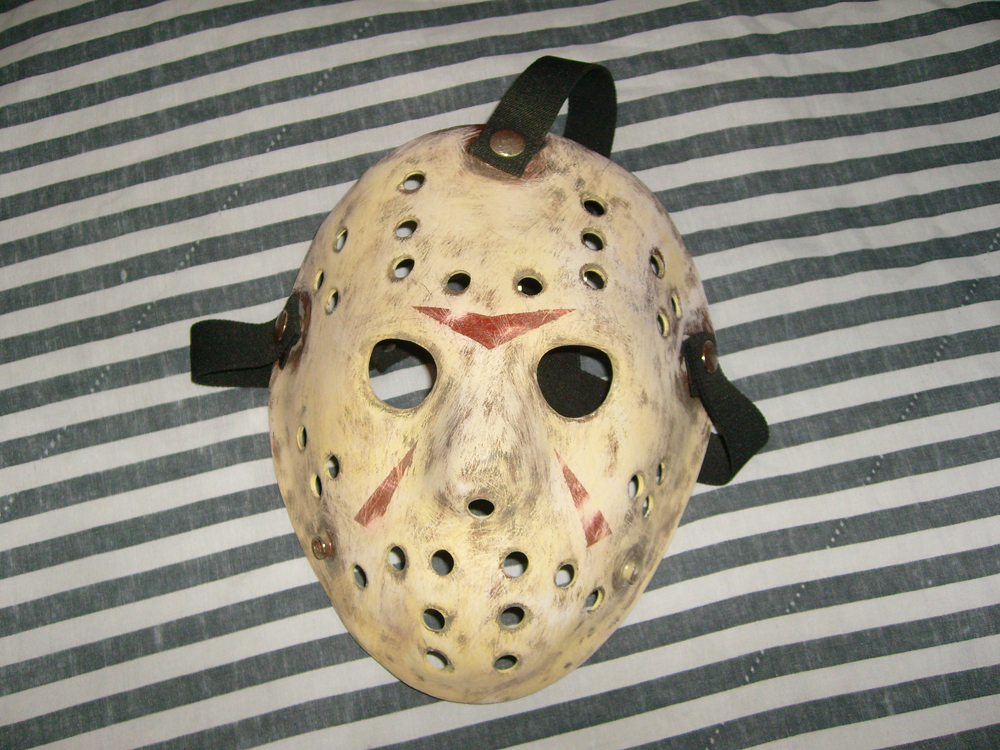
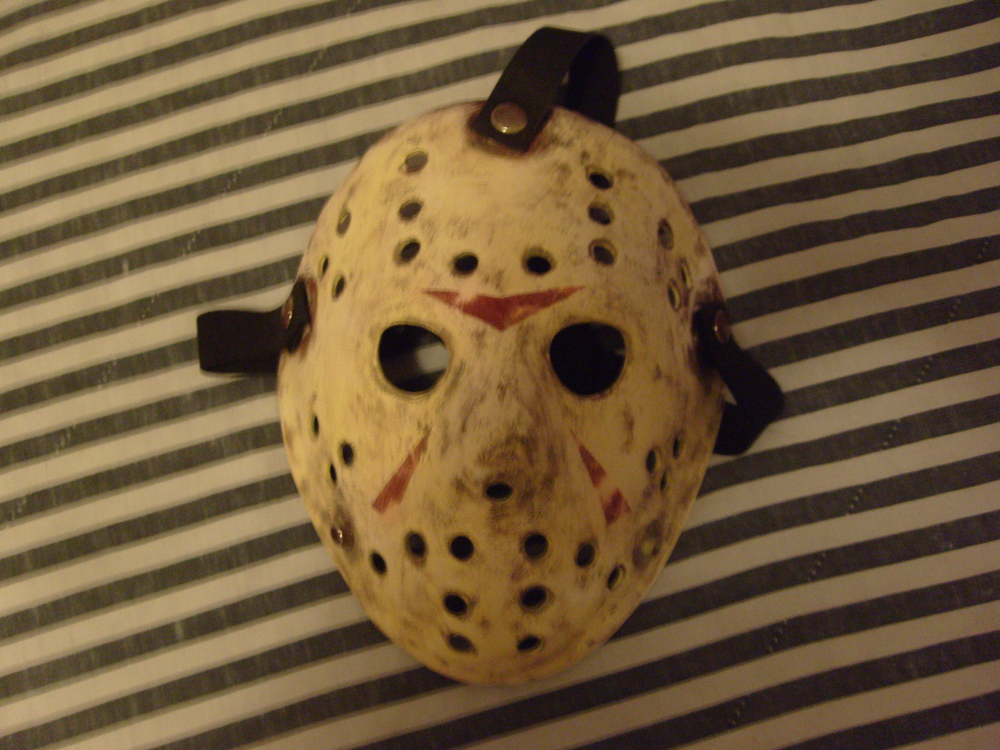
It’s difficult to get an accurate picture of the paint job. It truly looks different in all types of lighting, but it always looks good. In actual sunlight, the yellow looks great.
What You’ll Need
- A quality Jason hockey mask blank. I’ve searched endlessly, and happily I must say the best I could even find happened to be the most affordable around, only $50, which is what you might pay for a cheap mass-produced mask. You’ll want to pick your mask up from Fright Stuff (used from the mold of Friday the 13th: Part III).
- Rough Sand Paper
- Dark Brown Model Paint
- Dark Red Model Paint
- Light Yellow Spray Paint
- Painter’s Tape
UPDATE — It’s been a long time since I made this post, and there are now many more options for movie-accurate Jason masks. Honestly, I have no idea anymore what’s the best. You may want to have a search around on your own. This post has some pretty thorough and recent updates on where to find the best blanks.
NOTE: It really doesn’t matter exactly what paint type or tools you use. Improvise and use your best judgment. Everything should be pretty cheap and easy to find with a quick stop to the hardware or crafts store.
Steps
Step 1.
Take the sand paper and sand (or scratch really) the whole mask, emphasizing on the outer edge, eye holes, and ventilation holes, scratching them up more thoroughly. You could also take a nail or other tool to add more depth to scratches and gouges. This is to add wear and tear to the mask, but also for later so the paint can find grooves to create texture.
Step 2.
Paint the whole front of the mask solid brown, let dry, then take your sand paper and for the most part sand all the paint off or as much as desired, leaving wonderful texture to the mask.
Step 3.
Take your yellow spray paint and lightly and in short blasts, from a good distance, lightly mist the mask to create that old, worn plastic look. Sand spots out if you accidentally over do it.
Step 4.
Now, if you got the red striped stickers with your mask (if ordered from FrightStuff), go ahead and place these carefully and symmetrically on your mask. Then tape the outline of the stickers. Now, peel the stickers off so you just have the taped off patterns. Take your red paint and paint them in. Important! Make sure to let them thoroughly dry before removing the tape so that the paint doesn’t come off with the tape. If you like, go ahead and scratch up the stripes to give them the worn look.
Let me know if you have any questions, need any help, or if I missed anything…
Support Halloween Love
If an item was discussed in this article that you intend on buying or renting, you can help support Halloween Love and its writers by purchasing through our links:

1 Comment
Thank you for the post! Nice information and exactly what I was looking for.